
Adding and connecting to a data source
With Blueprint AutoTag, you can create document templates using data from your Blueprint project. As a quick introduction, this section walks you through connecting to your Blueprint project XML data file.
To connect to an XML file data source:
-
Open a template or a blank Word or Excel document.
-
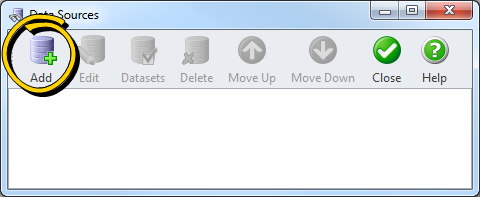
Click the Data Sources button located on the Blueprint Manager tab on the ribbon:

The Data Sources dialog appears.
-
Click the Add button.
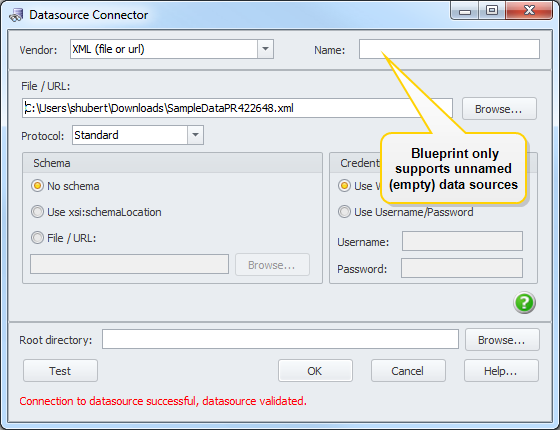
The Data Source Connector dialog appears.
-
Set the Vendor option to xml (file or url). The vendor option controls what kind of data is retrieved.
The Name text box must be left blank. Blueprint only supports unnamed (empty) data sources.
Click the Browse button and locate the XML file that contains your project data. Read more about downloading your project XML data.
Click the Test button to validate the data source connection. The following message appears when the data source is validated successfully: Connection to data source successful, data source validated.
-
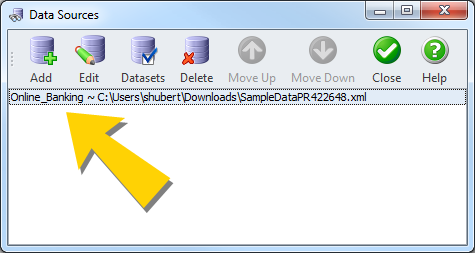
Click OK to close the Datasource Connector dialog. The Data Sources dialog now contains a line of data:
-
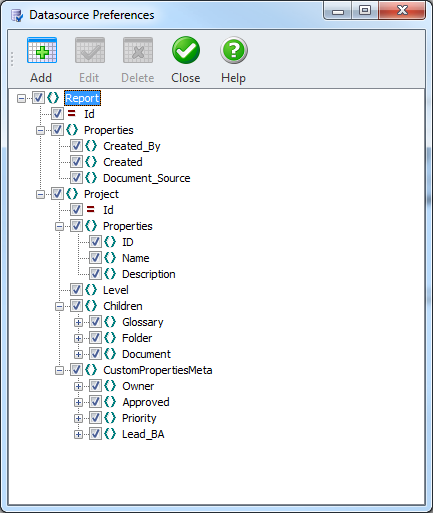
To refine your data, click the Datasets button:
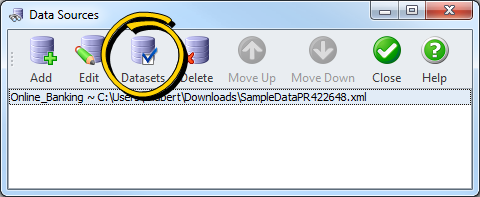
This brings up the Datasource Preferences dialog. In this pane, you can uncheck data nodes and subnodes that you do not want included in your Tag Editor, Data Bin and Data Tree. This limits the available choices to only the data items needed for your template, thereby minimizing scrolling and searching. To add data items back to the Tag Editor, Data Bin and Data Tree, simply check the box next to the desired data item.
Click Close in theDatasource Preferences dialog and in the Data Sources dialog.