
Enabling Blueprint federated authentication
After configuring your identity provider to work with Blueprint, you must enable federated authentication in Blueprint.
To enable Blueprint federated authentication:
-
Open the Instance Administration Console.
-
Click Federated Authentication.
-
Select the Enable Federated Authentication option.
-
Set your federated authentication settings:
-
Click Replace to upload your Identity Provider Certificate. The certificate must be in DER format.
Important: Certificates have an expiry date. Make sure you replace your certificate before it expires or users will be unable to access Blueprint.
-
Login URL: Defines your Identity Provider Login Service URL. This is the URL that Blueprint navigates to when the user clicks the Go button on the login screen. At this time, the Identity Provider returns a authentication token to Blueprint to authenticate the user.
Example: https://idp.domain.com/adfs/ls/
-
Logout URL: Defines the URL to navigate to after a user clicks the Logout button in Blueprint. This behavior is not applicable if a user is logged in with fallback authentication.
-
Error URL (optional): If a token error occurs, the user is redirected to the specified URL. The specific error is included as a GET parameter in the URL.
If an Error URL is not provided, Blueprint displays the token errors in the popup window.
-
Login Prompt (optional): Defines the login text that appears on the login screen when Federated Authentication is enabled:
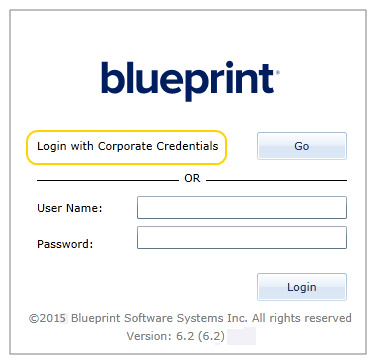
The default text is:
Login with Corporate Credentials
-
-
Click Save.
Learn More
About federated authentication
Configuring your identity provider for Blueprint federated authentication