
Import Tag Tutorial
Overview
The Import tag allows you to insert the content of an external file into your template.
Important: The Import tag is generally only used for workaround purposes. If you have an image that is smaller than the width of the page, you may need to use the Import tag to include the image in your generated document. When you use an Import tag for this purpsoe, set the Source to File.
Tutorial
The embedded document may be an image, a text file, a PDF file, or any another template. For example, you might want to import a cover sheet or company logo.
Your data source must contain the location (either a URL or file path) of the content to import, not the actual content itself. For example, with HTML and images, the actual HTML tags or image must not be in the data source. If the actual content is in the data source, you would use the out tag instead.
The key thing to keep in mind is that you are importing the actual content of the external file into your report. Therefore your import tag must point to the datasource value with the specified external file’s path or URL (eg: “C:\users\smithj\documents\filename” or “http://www.sitename.com/filename”)
For this example we will import a company logo from the images.xml datasource.
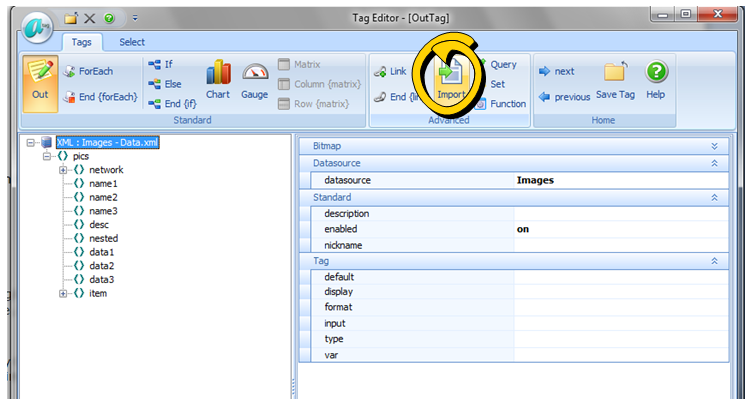
Step 1: Open Tag Builder, Under Tags in the Tag Builder the Import tag is found on the top.
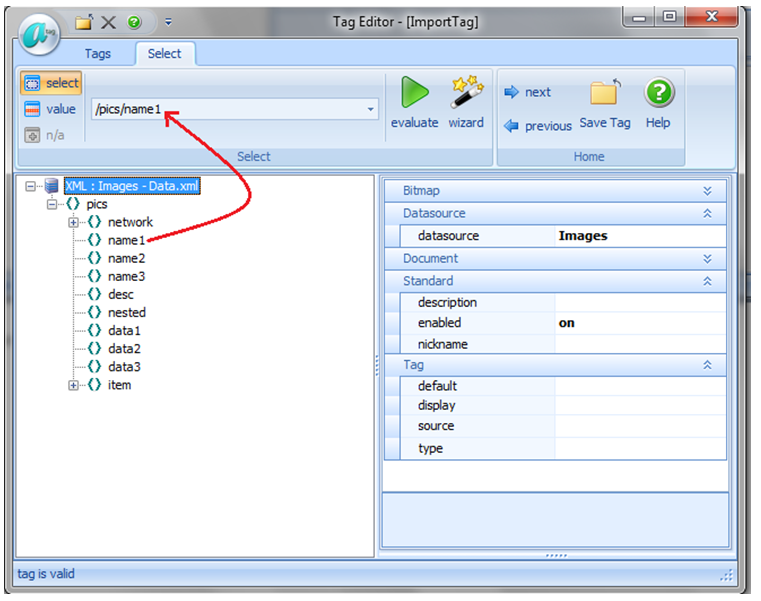
Once the Import Tag is selected, click on the select tab. Make sure you have the correct data source then click and drag your intended import into the select drop box. Evaluate the tag making sure nothing went wrong and then save the tag.
You have now created an import tag!